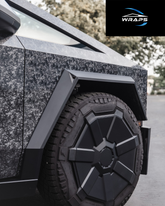
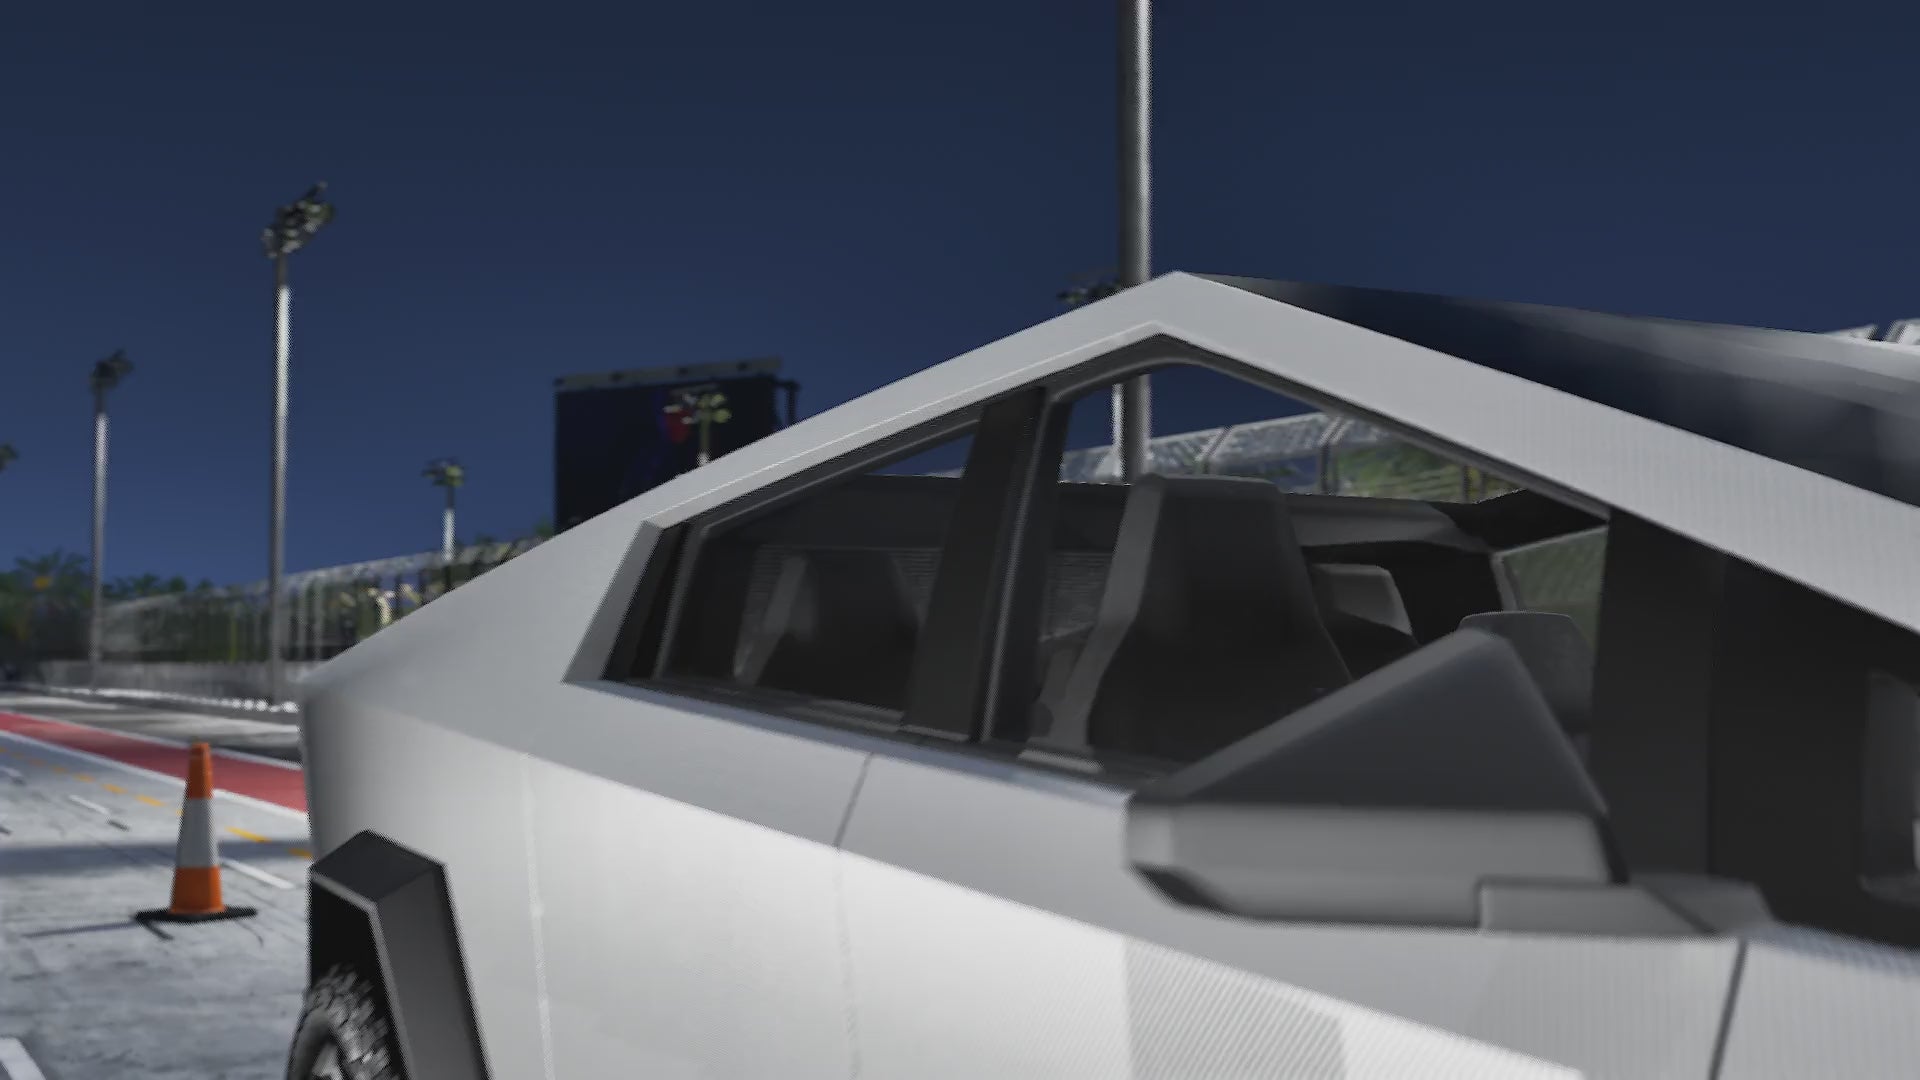
The Tesla Cybertruck is not just an ordinary vehicle; it’s a statement on wheels. With its futuristic design, sharp angles, and stainless steel exoskeleton, it's a truck like no other. However, like any vehicle, it’s susceptible to scratches, chips, and wear over time. That’s where Paint Protection Film (PPF) comes into play. For those who want to preserve the pristine look of their Cybertruck, a Cybertruck PPF DIY installation is an excellent solution. In this guide, we'll walk you through everything you need to know about applying PPF to your Cybertruck by yourself.
What is Cybertruck PPF DIY and Why Your Cybertruck Needs It
Paint Protection Film, or PPF, is a transparent, durable layer applied to a vehicle's exterior to protect it from damage caused by road debris, UV rays, chemicals, and other environmental factors. Given the unique stainless steel body of the Cybertruck, PPF is particularly important as it helps maintain the vehicle's sleek appearance while preventing potential damage that can be costly to repair.
Benefits of Installing PPF on Your Cybertruck
**1. Protection Against Scratches and Chips:**
With its sharp edges and flat surfaces, the Cybertruck is more prone to scratches and chips from road debris. PPF provides a barrier that absorbs the impact, keeping your truck looking new.
**2. UV Resistance:**
The sun’s ultraviolet rays can cause discoloration and fading over time. PPF offers UV resistance, ensuring that your Cybertruck's finish remains consistent and free from sun damage.
**3. Self-Healing Properties:**
Many high-quality PPF films come with self-healing technology, which allows minor scratches to disappear with heat from the sun or a simple heat gun.
**4. Preserving Resale Value:**
A well-maintained exterior can significantly boost your vehicle's resale value. By installing PPF, you're investing in the long-term aesthetics and value of your Cybertruck.
DIY Cybertruck PPF Installation: What You’ll Need
While professional installation is always an option, many Cybertruck owners prefer the DIY route. Here’s what you’ll need to get started:
- **PPF Kit Specific to the Cybertruck:**
Make sure to purchase a high-quality PPF kit designed specifically for the Tesla Cybertruck. These kits are pre-cut to fit the unique dimensions and angles of the vehicle.
- **Application Tools:**
You’ll need a squeegee, spray bottle with soapy water, heat gun, microfiber towels, and a sharp blade or cutter.
- **Workspace:**
A clean, dust-free environment is essential for a smooth installation. A garage is ideal, but if you're working outdoors, try to do so in a sheltered area away from wind and debris.
Step-by-Step Guide to Applying PPF on Your Cybertruck
**Step 1: Prepare the Surface**
Before applying PPF, ensure your Cybertruck is thoroughly washed and dried. Use a clay bar to remove any contaminants, and follow up with a degreaser to eliminate any remaining residue. The cleaner the surface, the better the PPF will adhere.
**Step 2: Plan Your Application**
Start by identifying the sections of your Cybertruck that will receive PPF. It’s generally best to begin with smaller, less complex areas like the mirrors or door edges to get a feel for the material before moving on to larger panels.
**Step 3: Wet the Surface**
Fill your spray bottle with a mixture of water and a few drops of baby shampoo or PPF application fluid. Generously spray the surface of the area you’re working on as well as the adhesive side of the PPF. This allows you to position the film accurately before it adheres.
**Step 4: Apply the PPF**
Carefully place the PPF on the wetted surface, aligning it with the edges of the panel. Use your squeegee to push out any air bubbles or excess fluid from the center of the film towards the edges. Take your time with this step to ensure a smooth, even application.
**Step 5: Use Heat to Conform the Film**
Once the PPF is in place, use a heat gun on a low setting to gently warm the film, making it more pliable and helping it conform to the vehicle’s contours. This step is crucial for the Cybertruck’s sharp angles and curves.
**Step 6: Trim the Excess**
After the film is applied and smoothed out, use a sharp blade to trim any excess material. Be cautious not to cut into the vehicle’s surface.
**Step 7: Final Inspection and Cure Time**
Once you've applied all sections, inspect your work for any remaining air bubbles or imperfections. Allow the PPF to cure for 24-48 hours before exposing your Cybertruck to the elements.
Tips for a Successful DIY PPF Installation
- **Take Your Time:** Rushing through the installation can lead to mistakes. Patience is key to achieving a professional-looking finish.
- **Work in Sections:** Tackle one panel at a time to ensure precision.
- **Avoid Direct Sunlight:** Applying PPF in direct sunlight can cause the film to dry too quickly, making it difficult to adjust and position.
Installing PPF on your Cybertruck is an excellent way to protect your investment and keep it looking sharp for years to come. While a DIY installation requires time and attention to detail, the satisfaction of doing it yourself—and the cost savings—are well worth the effort. With the right tools, patience, and a bit of practice, you can achieve professional-grade results and ensure your Cybertruck remains in showroom condition.


